
By Kelly Dolev, Founder of MyMkUp

A lens flattens everything. It drops contrast, exaggerates texture, and finds any shine you left behind. Most of what people describe as a bad photo is not a bad look. It is a good look built for a mirror and then photographed.
Here is the order that works, from the week before to the last check on the day.
Kelly’s view. I have worked as a professional makeup artist since 2003, across events, editorial and industry work, and the thing I say most often has not changed: beauty is never one size fits all. Most people already own the right products. What changes a photograph is rarely a new foundation. It is knowing which of the things already on your table is working against the camera.
Step 1. What should you do in the week before the shoot?
This is the step people skip, and it does more work than anything applied on the day. Wash gently, twice daily, and resist the urge to scrub. The American Academy of Dermatology notes that using a harsh face wash or scrubbing can irritate skin, which shows up on camera as redness the base then has to cover.
Do not try a new product that week. A reaction has nowhere to go, and new skincare changes how your base sits in ways you will not notice until the images come back. Anything new belongs on your skin a fortnight out, not three days before.
Step 2. What goes on before any makeup on shoot day?
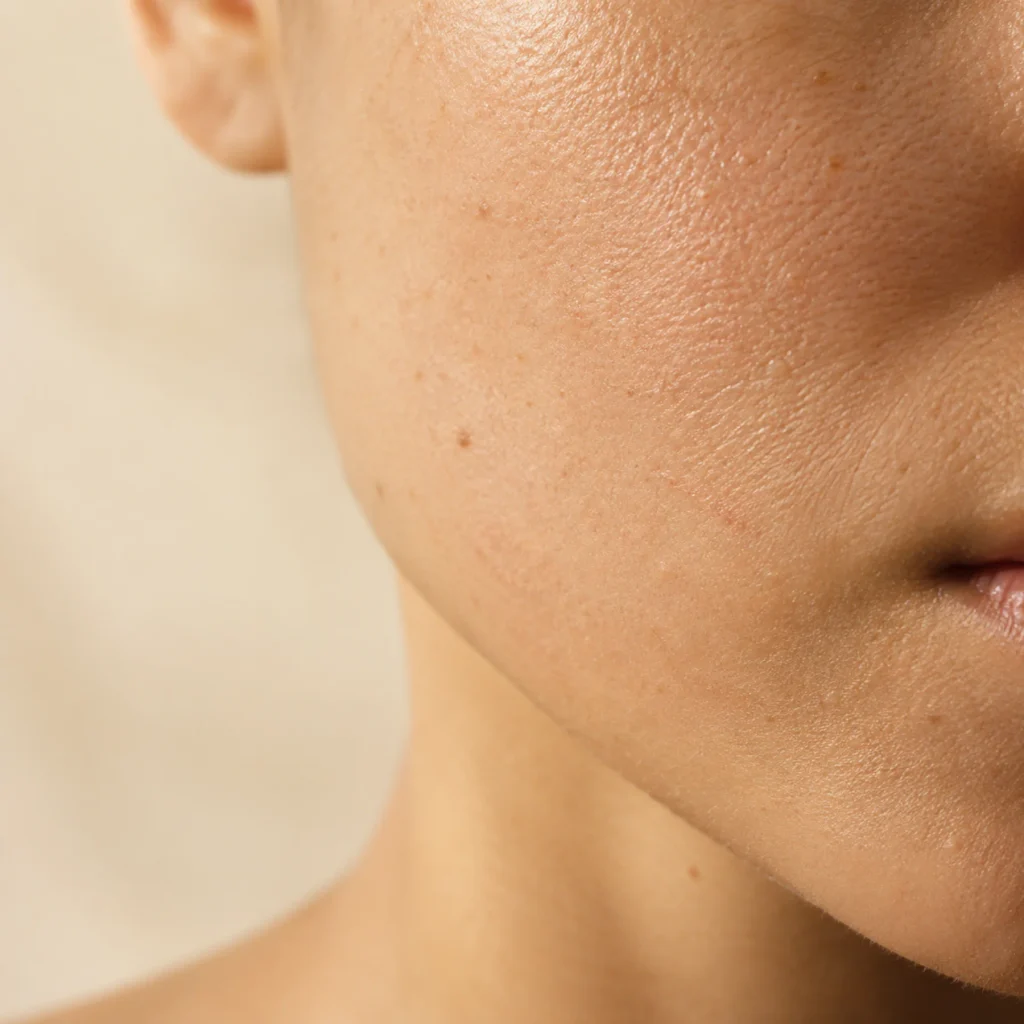
Moisturizer needs real time to sink in. Most base problems on a shoot trace back to this one point: product applied on top of product that was still wet.
If your skin is oily, moisturize anyway. Skipping it triggers more oil, not less. And do not skip eye cream, because dry under-eyes grab concealer and show every line the camera then sharpens.
Step 3. How much base does a camera actually need?
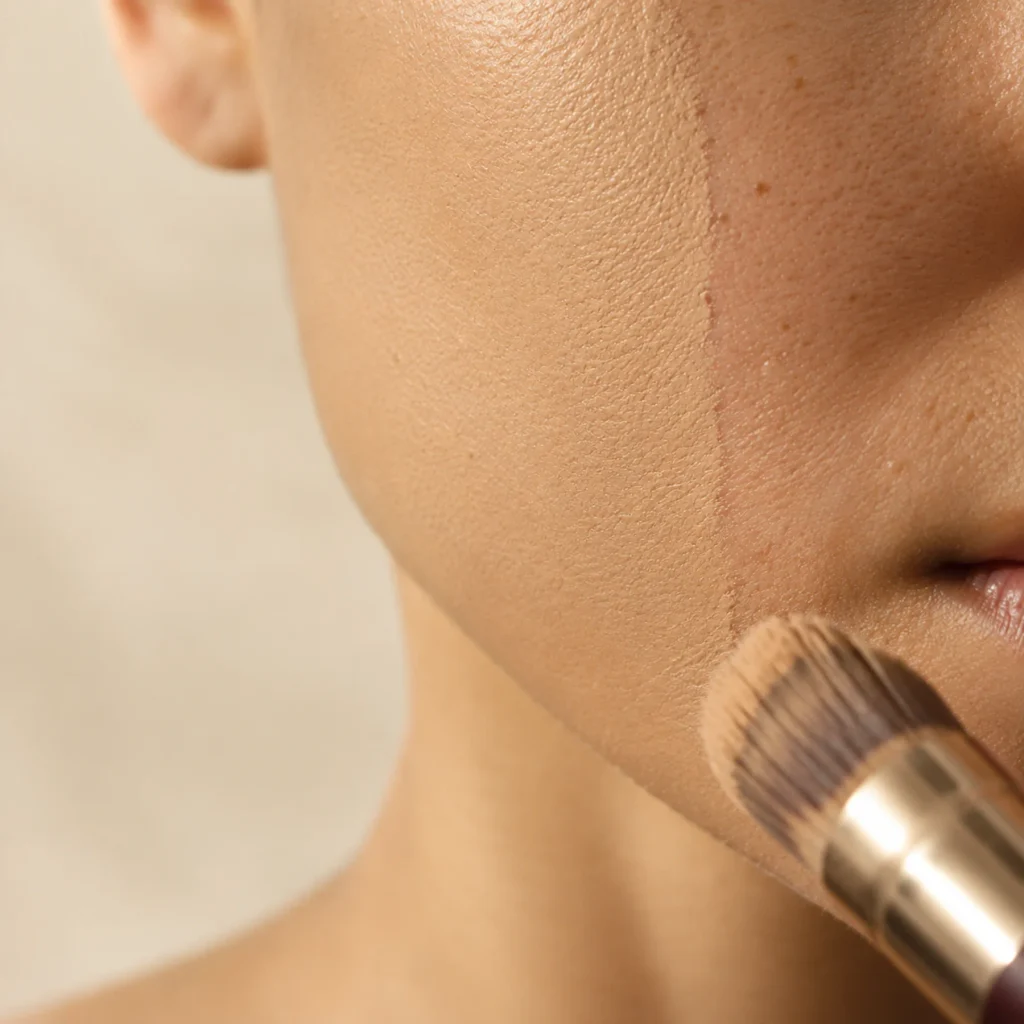
The instinct before a shoot is to build coverage. It is the wrong one. Thick base is exactly what separates and creases once you are warm and under a lamp. Work in thin passes, put coverage only where you need it, and leave skin visible everywhere else. Blend down the jaw and up to the temples, because a camera finds an edge that a mirror forgives.
| What you apply | What the camera does with it |
| Thin, well blended base | Reads as skin |
| Heavy, built-up base | Reads as a mask, shows every crease |
| Shimmer and glitter | Blows out under flash |
| Matte, flat base | Reads as lifeless in soft light |
| Strong contour | Reads muddy and dirty |
| Unblended edges | Sharpened, not hidden |
Step 4. How do you stop flashback in flash photos?
This is the single most common photo disaster and almost nobody sees it coming.
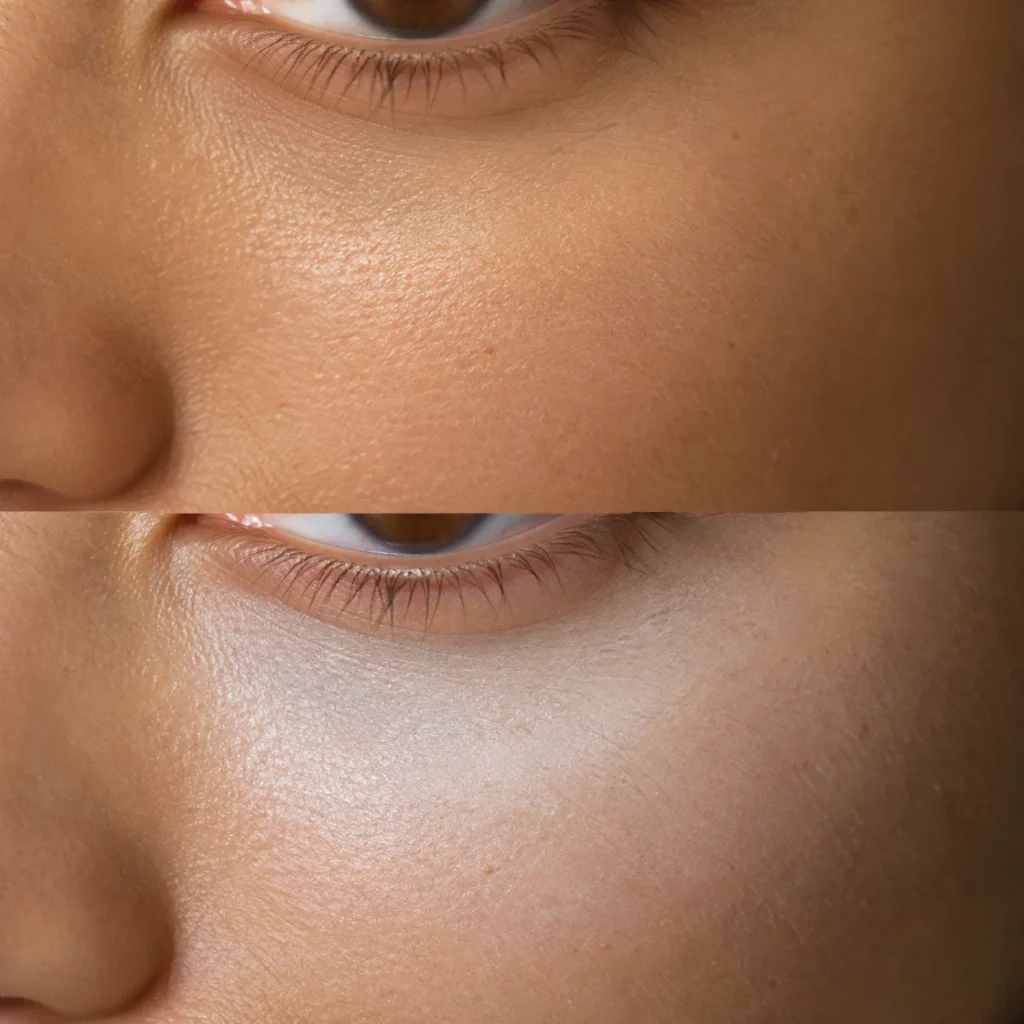
The US Food and Drug Administration lists zinc oxide and titanium dioxide among the active ingredients in sunscreen, and describes sunscreen as working by absorbing or reflecting radiation. That reflective property is the whole problem. It does its job on UV, and it does the same job on a camera flash.
They hide in SPF foundations, under-eye concealers, setting powders and primers. If the shoot uses flash, read the ingredient list on everything going on your face. If it is daylight only, this step does not apply at all. Test before the day. Photograph yourself with your phone flash in a dark room. Flashback is invisible in a mirror and invisible in daylight. It only appears when the flash fires.
Step 5. Where do concealer and contour go for camera?
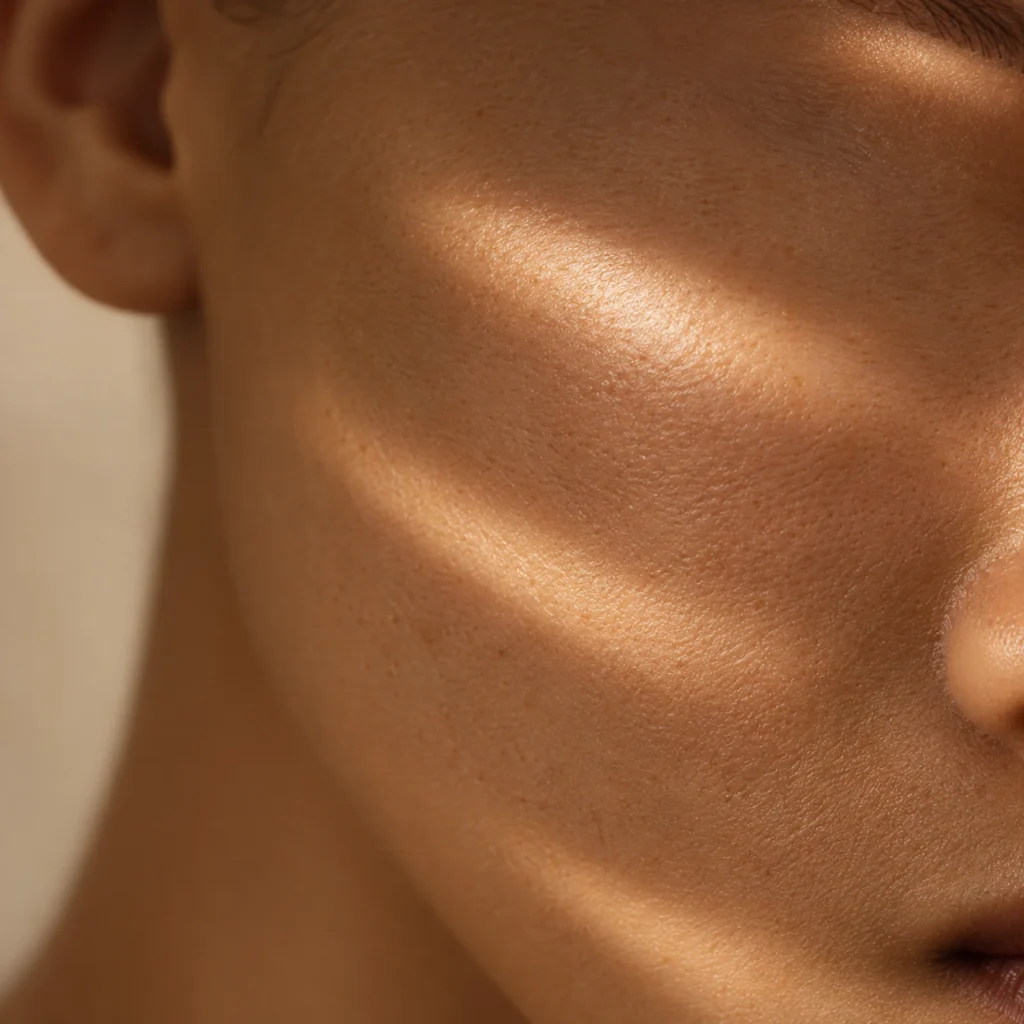
Over-concealing the under-eye is the second most common mistake. A bright patch under each eye reads as two pale circles once contrast is added.
For contour, the rule is restraint. The lens already adds depth, so anything you build compounds it. Blend until you cannot see where it starts.
Step 6. How should the eyes be done for photos?
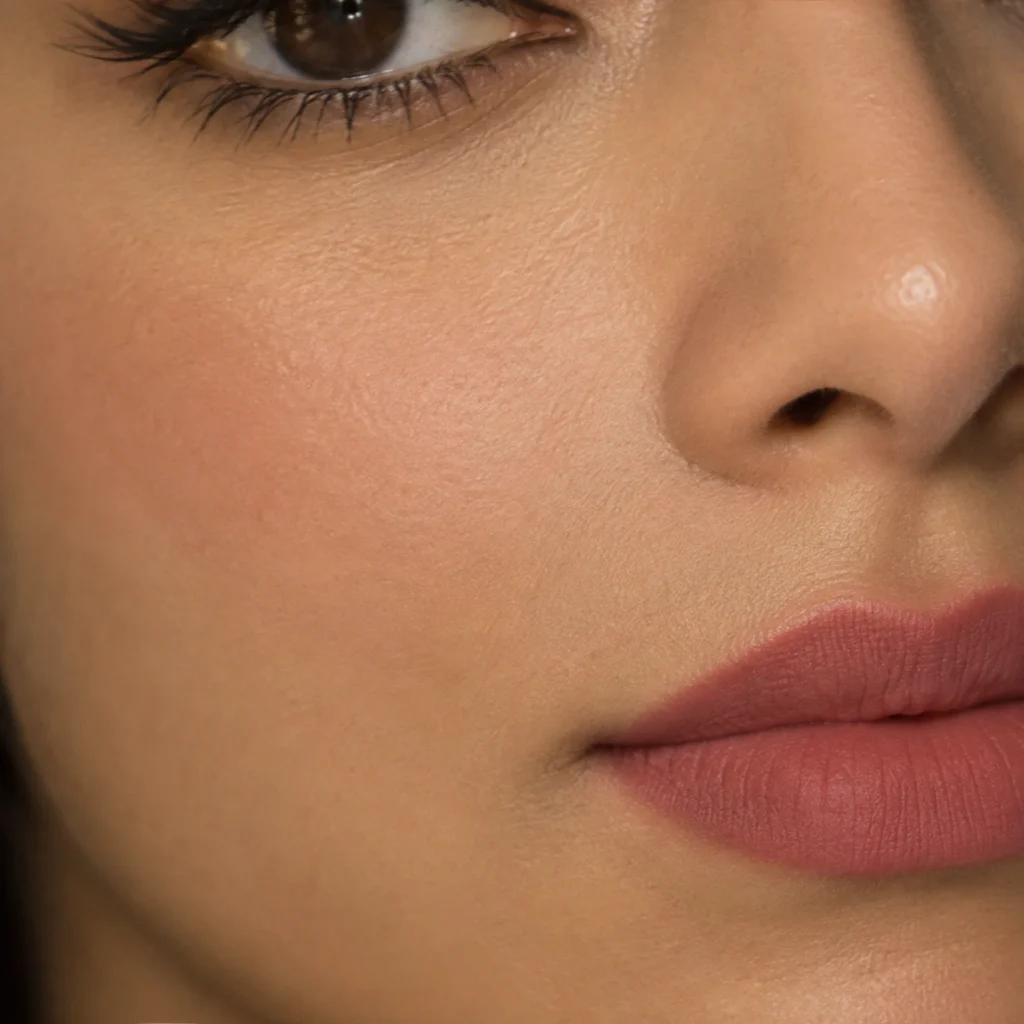
Define the lash line properly. A thin line along the roots does more on camera than a wide sweep of shadow. Keep the shadow matte or close to it, because shimmer on the lid can blow out under flash and take the shape of your eye with it.
Two coats of mascara rather than one, and comb through. Clumps are small in life and large in a photograph.
Step 7. What about blush, bronzer and highlighter?
Blush is the one people under-apply. A camera pulls color out of the face, and a flush that looks right in a mirror often photographs as nothing at all. Go one step warmer than feels natural.
Highlighter is the one people over-apply. A light source finds it instantly. Keep it to the top of the cheekbone and stop there. For flash in particular, consider skipping it on the nose entirely.
Step 8. Which lip color photographs best?
A balm-level color that works across a desk often vanishes in an image. Choose a shade with substance to it.
Blot, reapply, blot again. The second layer is the one that holds through a shoot, and the blotting removes the surface shine that reflects.
Skip heavy gloss if there is flash involved. It will catch every light in the room.
Step 9. Do your neck, ears and hands need anything?
Carry your base down the jaw and onto the neck, blending as you go. If your face and neck do not match in daylight, they will not match on camera either.
Ears are visible in profile shots and in anything with movement. Hands appear in more frames than people expect, especially in portrait and maternity work.
Step 10. When should you finish, and what goes in your kit?
The order on the day is simple: skincare, base, eyes, cheeks, lip, set, check in daylight by a window.
What to carry with you:
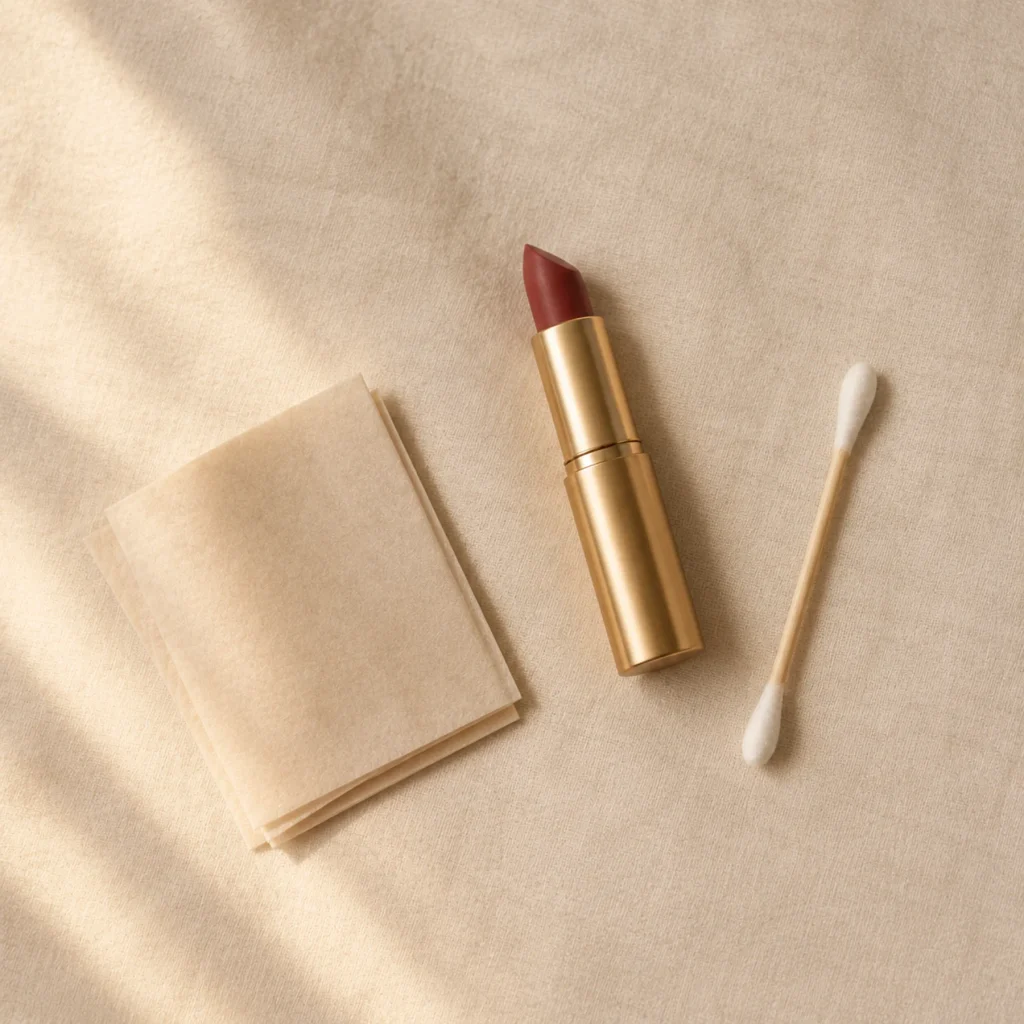
- Blotting papers, which beat powder for touch-ups because they remove shine without adding another layer
- Your lip product
- A cotton swab for the one thing that moves
- Nothing else
A bigger kit is a temptation to keep adding, and adding is what turns a good base into a heavy one by frame fifty.
Step 11. What changes for black and white, or for video?
For black and white, warm and cool shades that look completely different in color can land in the same gray. Build contrast deliberately: a defined lash line, a clear lip shape, real shadow in the crease. Subtlety disappears.
For video, nothing can be sitting loose. Set anything that might transfer, and avoid anything that could shift when you turn your head. The same look that photographs well for a still can come apart across a long take.
What can a guide not tell you?
Everything above is the method. The diagnosis is the part that needs eyes on your actual face.
That is what a live session is for. A MyMkUp artist joins you on video for 1 hour or 1.5 hours, sees your actual products and your actual lighting, and guides each step as it happens. You book a slot on their calendar 1 to 2 days ahead and each artist sets their own rate, shown on their profile. It is a live session with a real person, not pre-recorded content.
If you have a shoot coming up, browse artists and rates and pick someone whose calendar fits yours.
Frequently Asked Questions
Should photoshoot makeup be matte or dewy?
Neither extreme. Fully matte reads flat and lifeless in soft light, and a strong dewy finish reads as shine under flash. A satin finish with the shine controlled on the forehead, nose and chin works across most lighting setups.
How do you do natural makeup for a photoshoot?
Build the same structure as any camera look, just lighter. Thin base, defined lash line without liner, a warm blush and a lip close to your own color. Natural on camera still needs more definition than natural in person, because the lens removes contrast.
What causes flashback in photos?
Zinc oxide and titanium dioxide, the mineral filters in many SPF products, reflect light back toward the lens when a flash fires. They are common in SPF foundations, concealers and setting powders. Check ingredient lists before a flash shoot and test with your phone flash in a dark room.
What makeup works for a family photoshoot?
Keep everyone in the same register rather than the same look. If one person is in full definition and another is bare, the group reads uneven. Agree a level beforehand and apply it in proportion to each face.
Can you fix shine during a shoot?
Blot, do not powder. Blotting papers lift the oil without adding product, and each extra powder layer increases the chance of a cakey finish by the end of the session.